 I have loved making this blanket! And I look forward to sharing with you all just how I made it.
I did not use a specific pattern for this one, but I did use a bunch of patterns to make it, and that is what I plan on sharing. You might not want to make this blanket exactly the same as I did, but I’m hoping that it will at least inspire you to create something similar based on one or more things that I did or that I used.
So let’s start with the yarn, because that is where the idea started!
The yarn was a Bobbel Box purchased from BelleMae Yarns. I purchased the Ice Peach in 4 ply with 10 x 50g balls. If you’re familiar wiht a Lola, which I have written about before, then this is like a Lola in 10 little balls, one gradient per ball.

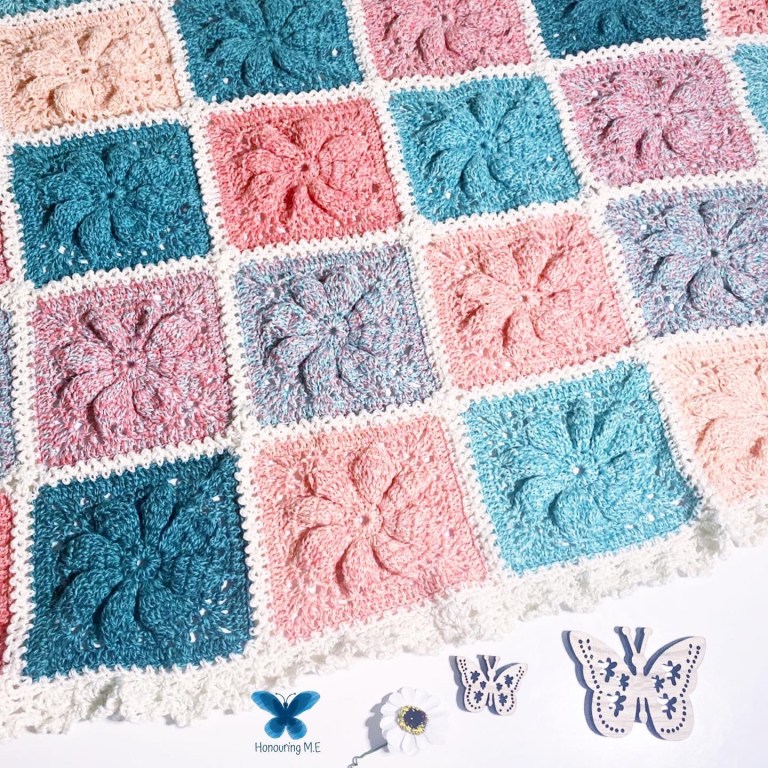
The box sat on my shelf for a while before I decided that I wanted to make squares and I wanted to make it with my favourite – random colour placement layout.
So the next step was to find a square that would help the yarn speak! And I ended up deciding on the Poinsetta Square from the Granny Square Book by Margaret Hubert. This book is filled with fun squares and has them for beginners and up. It’s really well written too and provides a chart, written instructions and a picture of the finished square.
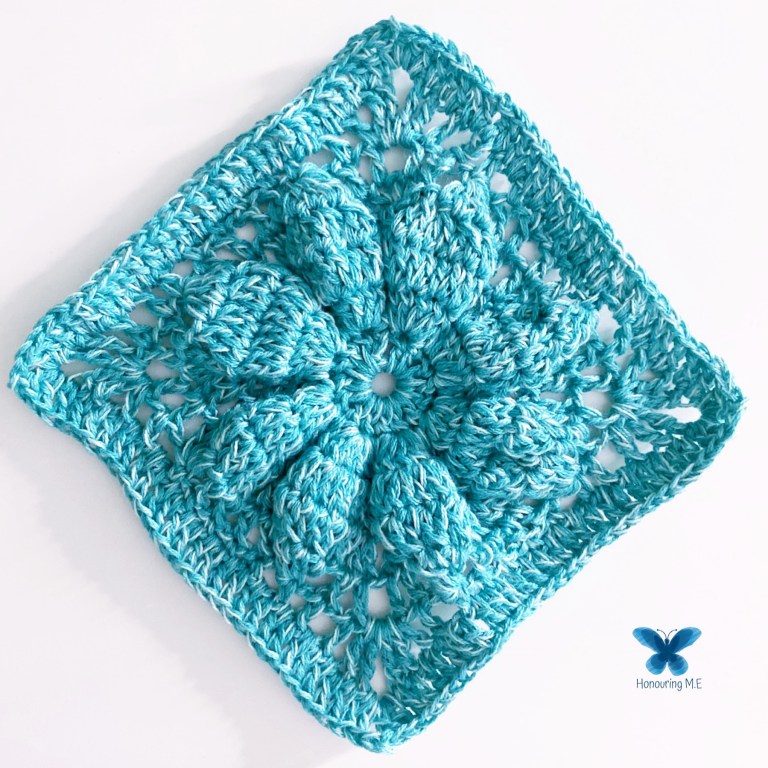
I ended up getting 4 squares from each ball of yarn. If I’d chosen a different square I could have maybe made 5 or even 6 squares from each one. Each square is roughly 13cm across. So with 4 squares from 10 balls the math was easy and I ended up with 40 squares. This was a time consuming square too, and each one took me roughly an hour to make once I had it memorised.
When it came to joinging, the first hurdle was choosing a yarn to join with. I reached out to Yasmin at BelleMae Yarns, and with her help ended up choosing the Lola Solo in creme. This had to be ordered directly from the supplier and pre-paid ot Yasmin. She estimated it to take 4-5 weeks and from memory it arrived a bit sooner than that. The solo comes in 100g balls and because I wasn’t sure how I was joining or bordering it, I ordered 3 of them. In the end with the joining and the border (and my puppy attacking one of them!) I ended up using almost 1.5 of them. I was extremely happy with the colour as it gave a kind of vintage vibe to the overall look.
Before joining I had to decide on layout. I always prefer a randomly placed layout and found the easiest way to achieve that was to break the squares into two groups – reds and greens and then lay them out by alternating one from each group, trying to make sure the same colour didn’t touch on the diagonal. They were placed 5 across and 8 down to make a rectangle.

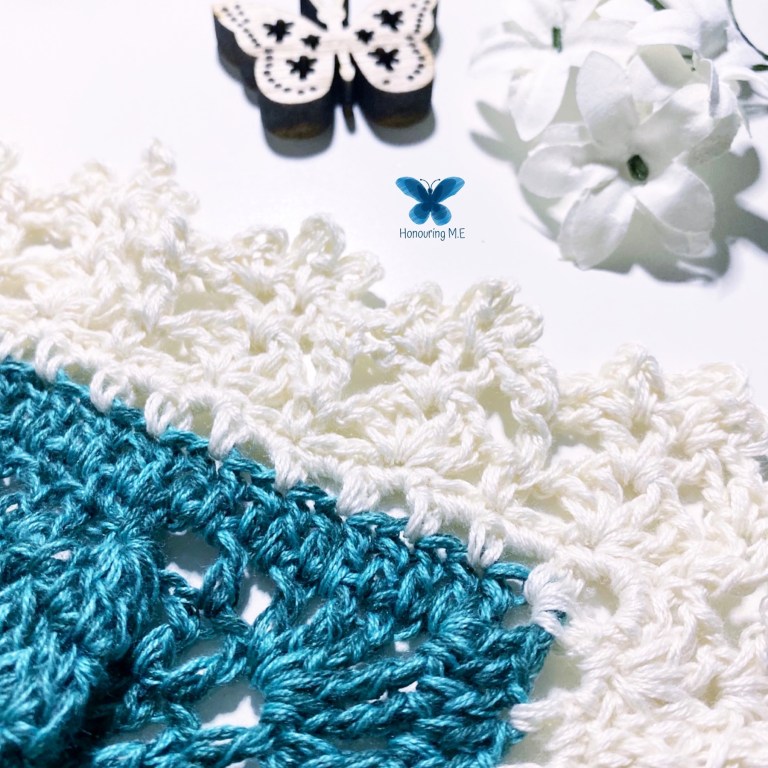
Joining was the next decider. I didn’t want to sew it, and I didn’t want to use single crochet but I did want it to be part of the blanket. I ended up using one that I have used on a blanket before and had saved on pinterest. It’s a simple joining technique, but super pretty and one that didn’t require a border on each square first, and it’s a join as you go one. You can find it here with a full picture and written tutorial.

And then of course there was the border! This one I reached out to my network for help with. I chose four from a book and ended up using the most popular one for it. And everyone chose well! The book is Around the Corner Crochet Borders and is a very handy book to have in your library. It also has written instructions, charts and a finished example for each border. I chose a bigger border than usual as I wanted to balance out the size of the join and the squares.
So I hope you are inspired to create your own version. It really will be a treat for yourself or someone close to you. The yarn gives the blanket a lovely soft and drapey feel and I just know you’ll enjoy it!


Seona xx
