I’ve been wanting to crochet a hat holder for quite a while now. I’ve seen some lovely macrame ones and I’ve purchased a crochet pattern for one, but I was never inspired enough to actually make one. And then on the weekend I discovered a new little hand-crafted store in my local shopping centre that had a macrame hat holder on the wall. I loved it, but I couldn’t bear to ask the shop owner to take it down and ruin her wall display by purchasing it. Silly, I know! But it did spark an idea for this week’s granny square blog, so I went home and started designing and what you see below is the end result.

You can totally adapt this with any square that you want. I almost wish I had used 2 squares less than what I did, but I had a different image in mind when I started joining them. I am happy with it though, and will explain what I used and how I made it.
I decided that a hexagon would give me more options for shaping and creating with the extra sides, so I chose one from the Hooked on Crochet Club library. A square could work too, but it wouldn’t work quite as well at the top and you’ll get a little more twisting through the sides to the bottom.
I raided my stash and looked for a worsted weight yarn and opted for Scheepjes Cahlista. I had 3 different colours, though it’s a little hard to tell in the photos that there are 3 shades of tan to white. I would recommend sticking with 100% cotton and a worsted weight or heavier, just so it can hold the weight of the hat better. Cotton won’t stretch the same as wool or acrylic will, and the cotton will give it a better stitch definition. The wooden rings I had in my craft stash. I have them in various sizes and purchased them from amazon
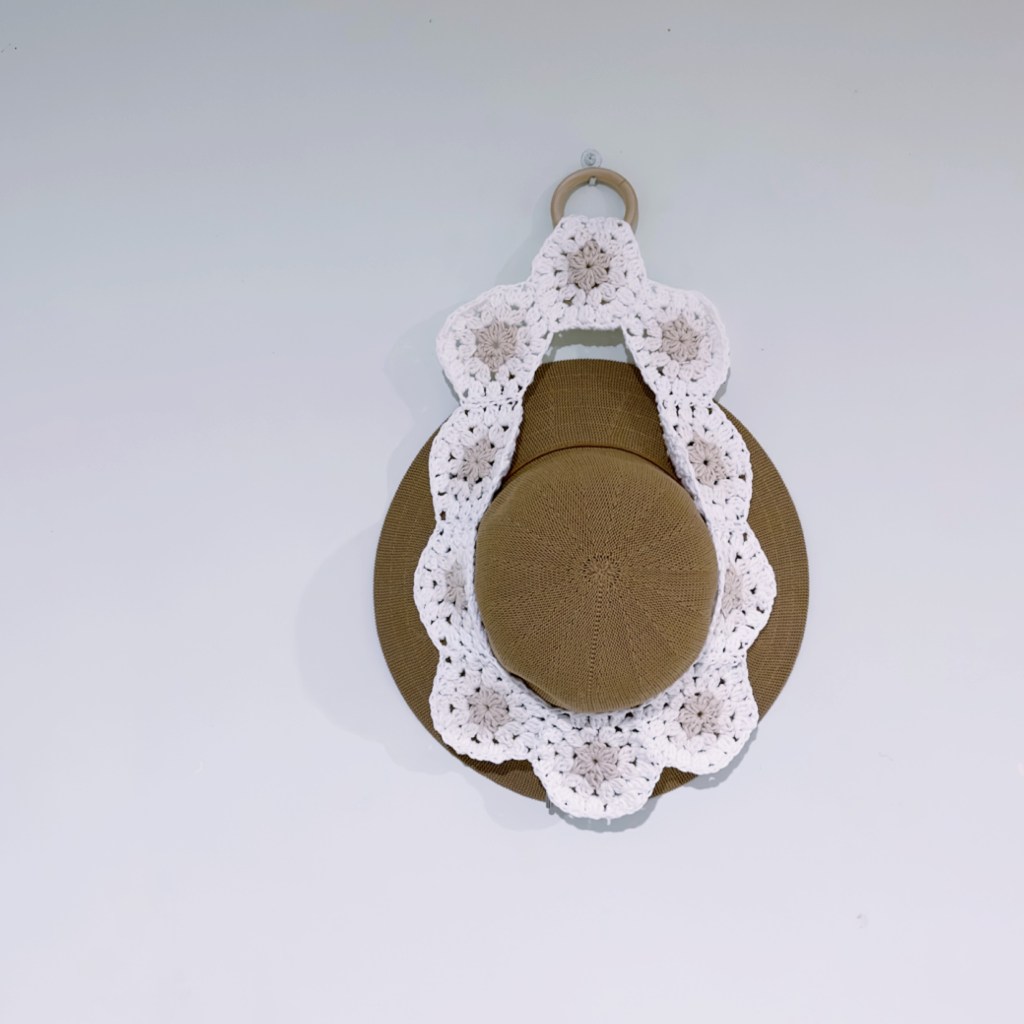
Below is the square and progress I made. I joined as I went so that I could size it as I made it. The very top hexagon I pushed through the wooden ring and folded it over and then stitched it to the bottom three sides of the hexagon below it. I’d had thoughts of creating a series of rows to create a loop, but felt it looked much nicer (and was easier to create) by making the loop with the two hexagons.


If I remade it, I would consider removing the hexagons that are to the immediate left and right of centre. I would make the ‘daisy chain’ smaller and fit more snuggly to the hat. This is also a relatively quick make as each hexagon only took me 10-15 minutes to make when I was focussed.
So what do you think? I’ll be going over how I made it in more detail with my Hooked on Crochet Club members in this month’s week 2 Hook and Learn Lesson. If you love granny squares, then I recommend you hitting subscribe to my blog or signing up to my email list as I publish a new granny square project idea every month.
Haven’t learned to crochet yet or think this is outside of your current skill set? Download a copy of my free Crochet Beginners Guide eBook and learn all the foundations that you need. It’s definitely a craft that keeps on giving once you get yourself hooked!
Seona x
