
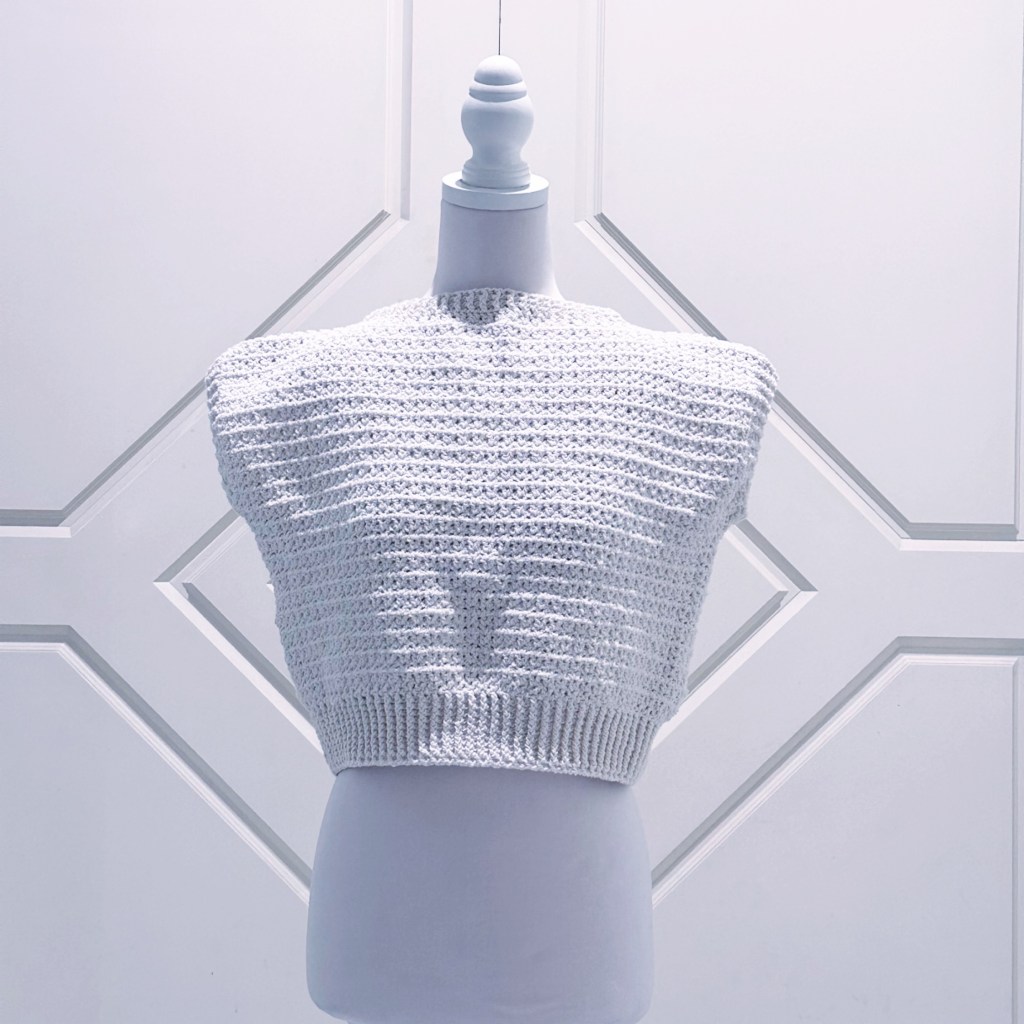
How excited would you be if I said that you can crochet a top without having to shape it? Shaping means counting, increases and/or decreases and so many opportunities for messing it up. I’m here to show you that you can create tops without any of that!

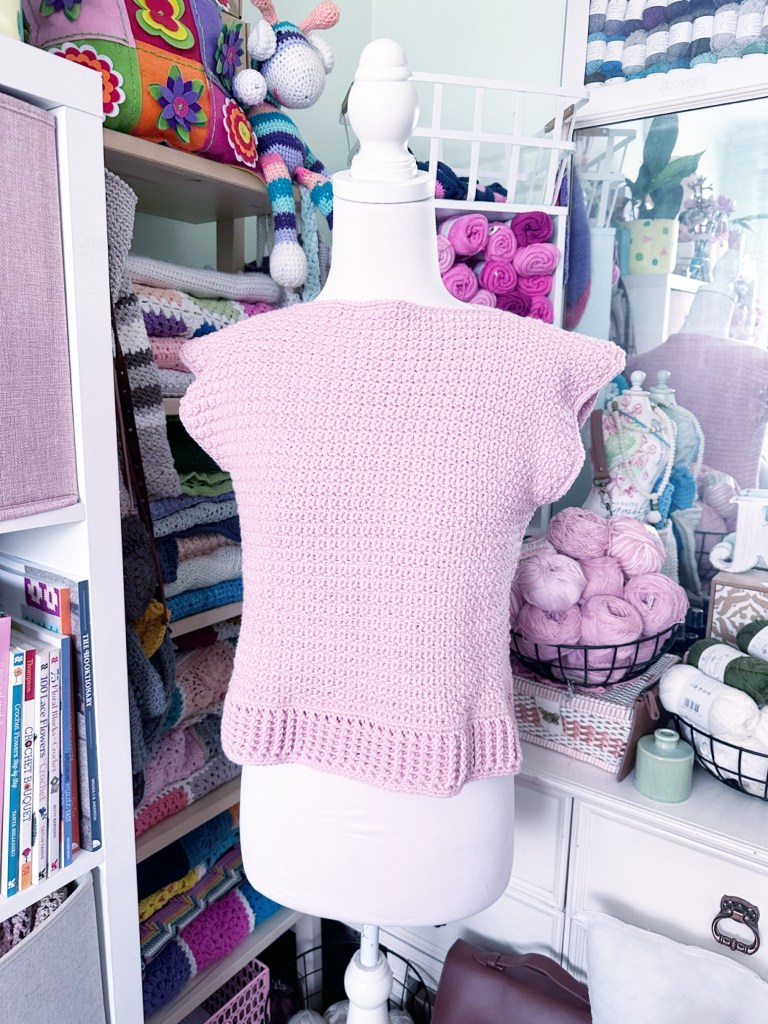
The top that you see is made from two pieces, each made as a rectangle and joined together. You need to make sure that when you join you leave space for arm holes and a neck hole. Once joined you then need to work around the arm and neck holes and add a band on the bottom. What makes this design method so great is that you can create infinite designs and styles from two crochet fabrics worked as rectangles!
So let’s just cover some points to consider in your design.
When creating the rectangle pieces you’ll need to make sure it fits. The simplest way to do this is to work to the widest part of the torso that you’re trying to fit. This means it will be either the width of your shoulders, your bust or your waste. If you want to make it tunic length then you also need to consider your hips. I will always make my initial chain wide enough to reach the edges of my shoulderes and I then just double check that it will reach across my bust. Try not to stretch the chain too muc. And also consider the design that you’re making and the yarn that you’re using. A chevron style will need a longer chain as it will end up zigzagging in row one, so be sure to add extra width for that. If you want a more snug fit, consider the stretch of the yarn too.
You then need to decide on style. I wanted this one to be shorter in length as I want to wear it over a singlet or as a vest over a shirt. It sits close to the top of my hips. I also wanted a long ribbed band on the bottom. With that in mind I made the rectangles reach from my shoulders to my mid-riff. If I wanted a longer top or less or no ribbing then I would have just kept on making the rectangles longer.
When it comes to the neck and arm holes you also have options. For this top I have just worked a two rounds of single crochet (UK double crochet) around each one. I was going to add a couple of ribbing, but decided for now to leave it more simple. When joining I recommend pinning the pieces together first to decide how much space you want for the arm and neck holes. You can make a bigger space for the neck to create a boat neck still, or leave less space for a crew neck style. Just make sure you can fit your head through it too! You can leave more space for the arms and then make them more snug with the bands being added. If it’s your first top though I would look to leave about 20cm gap from the shoulder seam to the side seam to make enough room to get your arms in and out. You can add more rounds for any of these too.
For the band, i’m currently in love with a basic ribbing. The one you see on this top made with two rounds of single crochet like I did for the arm and neck holes. I then did a round of double crochet. The remaining rounds are made by alternating front and back post double crochets. You can opt to skip all of the ribbing and just do rounds of basic stitches.
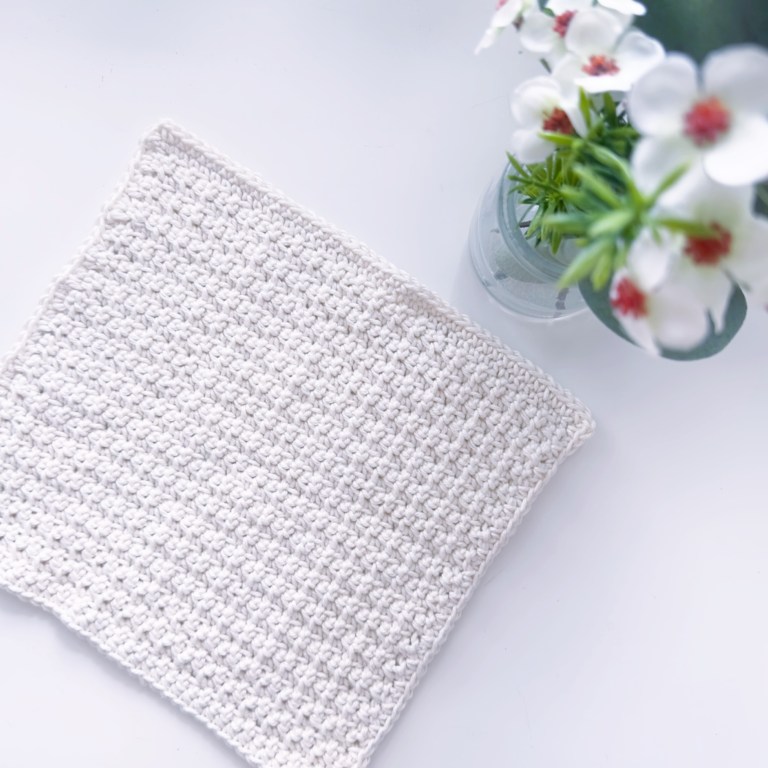
I’ve made a few tops using this technique now, and each one is different. The design for the rectangles in this one was designed from my Easy Peasy Washcloth Pattern. You can easily create a top from any of my washcloth designs that are worked in rows and there are dozens to choose from! It is worth purchasing a bundle to give you lots of options to create from.

Once you start wearing the tops you’ll find that they’ll shape to your body. I’ve made these using different types of cottons. You could use pretty much any fibre for tops. I would just factor in how often you plan to wear them and your options for washing them.
Let me know how you go with designing yours!
If you’re not feeling confident enough to try this on your own then consider joining the Hooked on Crochet Club. I have designs you can try with all the support that you need to make them, including written patterns, video tutorials and direct access to me!
Seona x
