
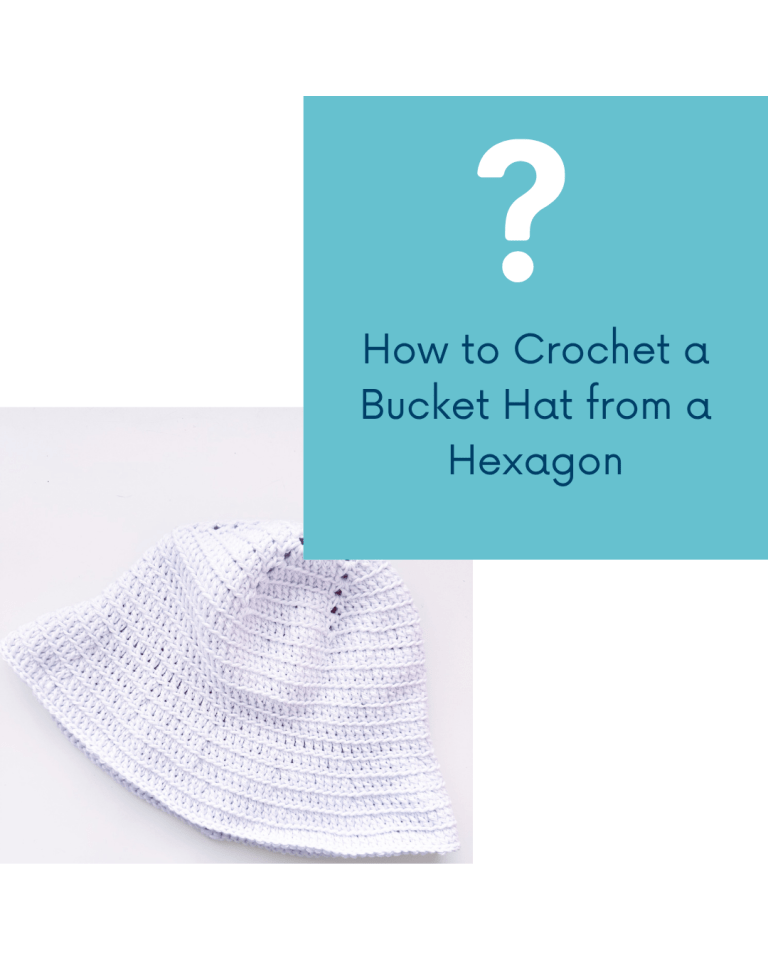
I love hats! I especially love to be able to design and crochet them myself. I recently created one from a hexagon and thought I would share how I did it with you here.
The first thing that you’re going to need is a pattern for a hexagon. I am going to share my basic hexagon chart below. Members of the Hooked on Crochet Club have the full written pattern and step by step pictures for this inside the hub. If you can read a chart, then you can use the chart below.

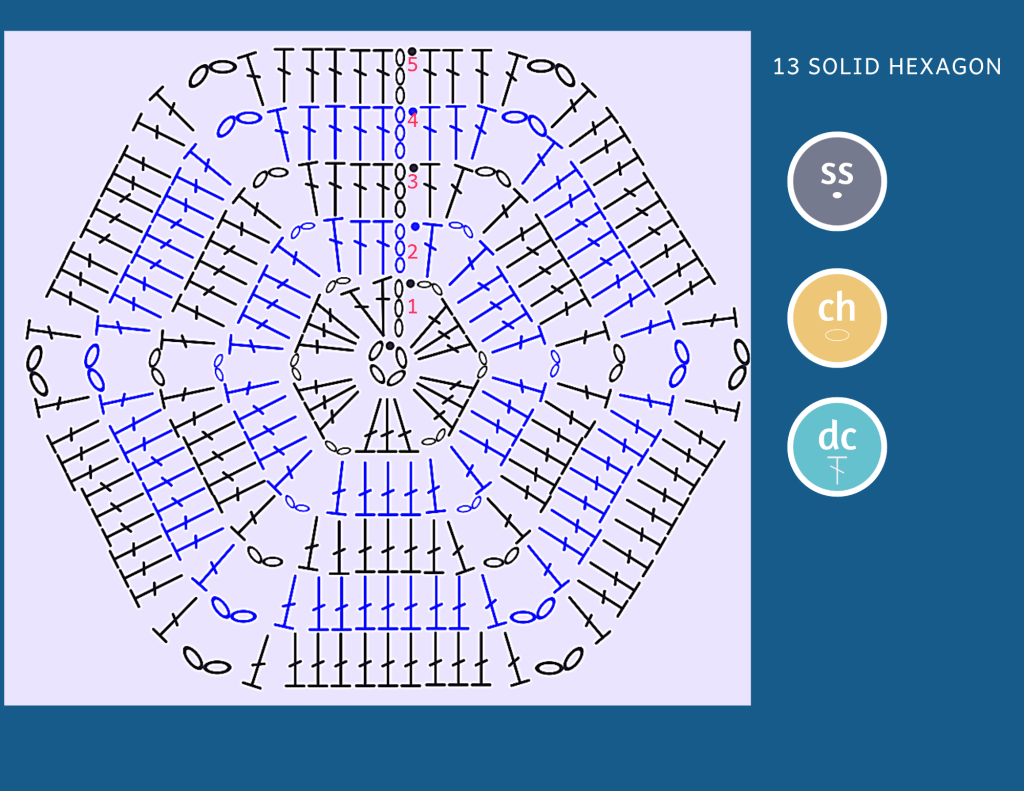
I would recommend choosing a cotton yarn to make it. I have used a 10ply/worsted weight cotton for the version you see below with a 4.5mm hook.
Begin with the hexagon and make it until the cricumference (outside size) is the size that you need, or close to the size you need for the head of the person that you’re intending it for. Once you have it to the circumference that you need, stop adding stitches and make rounds by working one stitch, The first of these rounds you will need to work one stitch into the chain spaces of the hexagon too. Continue these rounds until you reach to just above the eyebrows of the person that you’re making it for.
You then need to start increasing again to make the brim. The increases need to be evenly spaced. You will want to aim to add 8 new stitches each round. To determine how many spaces between the increase, calculate how many stitches you have and divide the number by 8. This number will be how many stitches you have between increases. An increase is made by working 2 stitches into the one stitch. Each round after that you will have one more stitch between increases. To help explain – if you have 72 stitches in the round, divide that by 8. This will give you the number 9. That means you need to increase in every 9th stitch. The next round you’ll then increase in every 10th stitch, the next round will be every 11th.
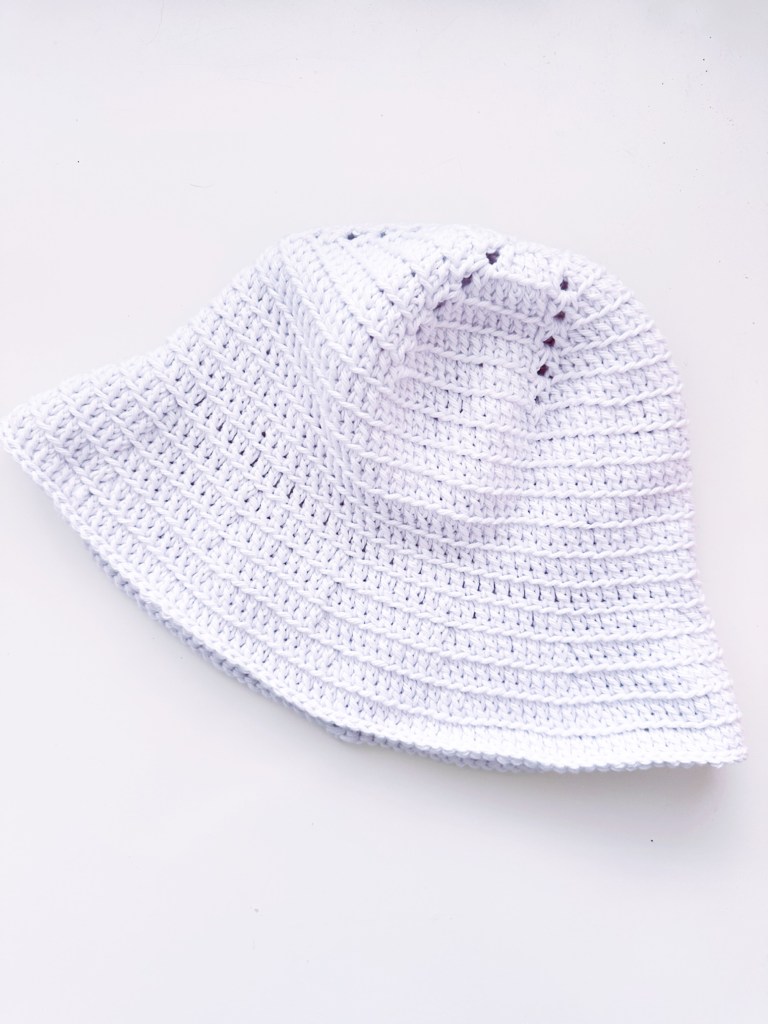
Once you get the brim close to the size that you want you will then need to add one or two more rows with no increases in them. This will help the brim to curl up a bit and sit away from the face. I then did a final round in slip stitch just to stiffen it up a little bit.
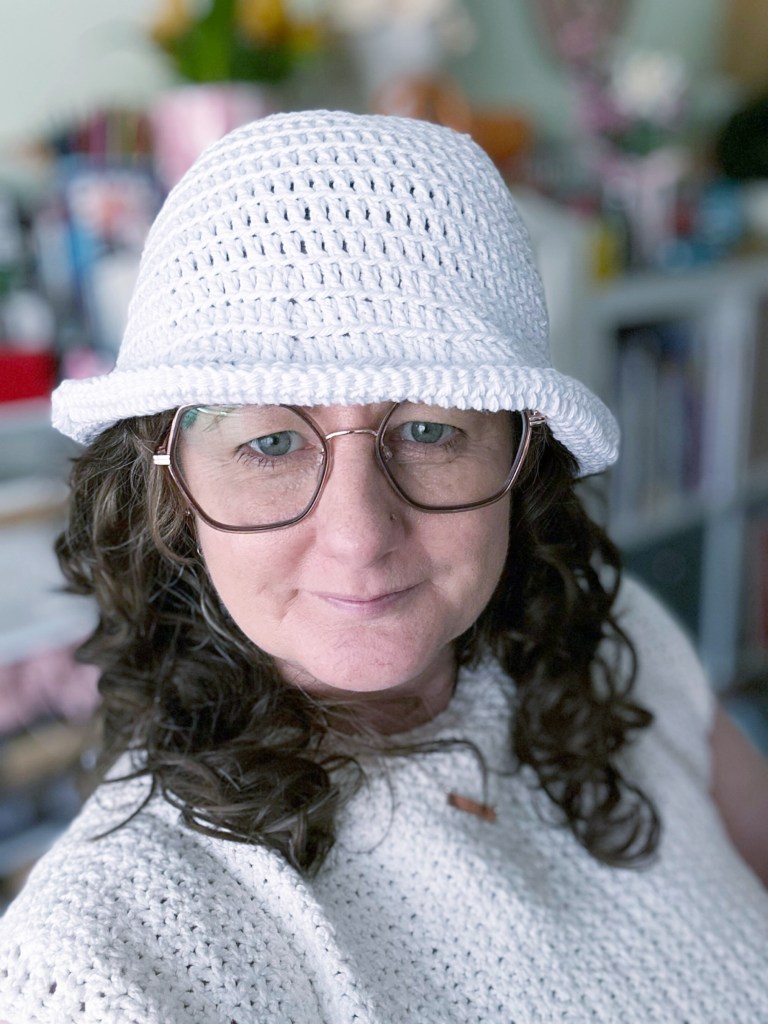
I’ve curled the edge up a bit in this image. You have the option to curl it up and pull the edge down.
I encourage you to play around until you can get it to work for you before you start to change it up with different stitches or different yarns. I’ll be showing my Hooked on Crochet Club members how I made it and can help them out with their own designs. You can join us if you want help too!
Seona x
