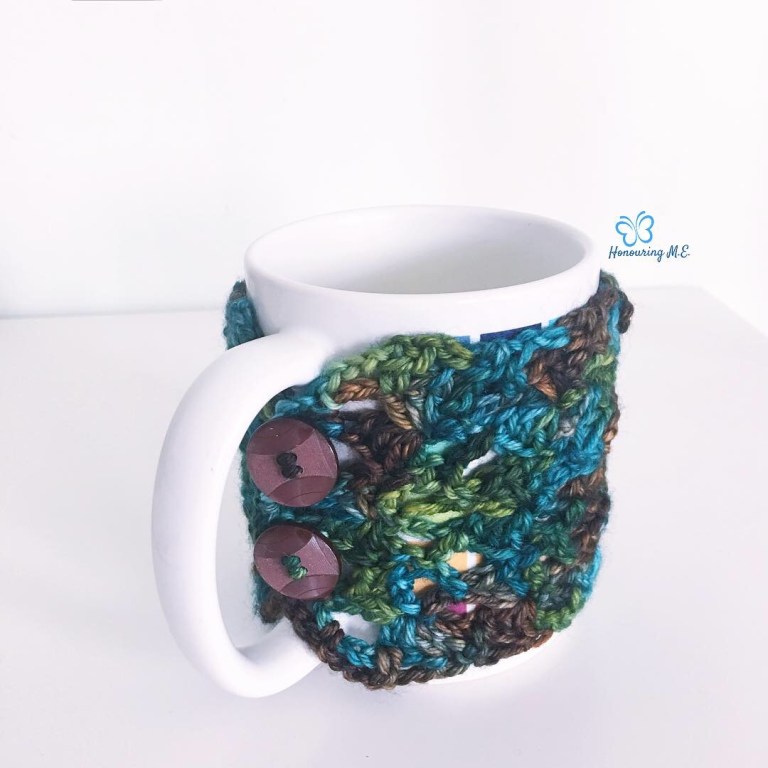
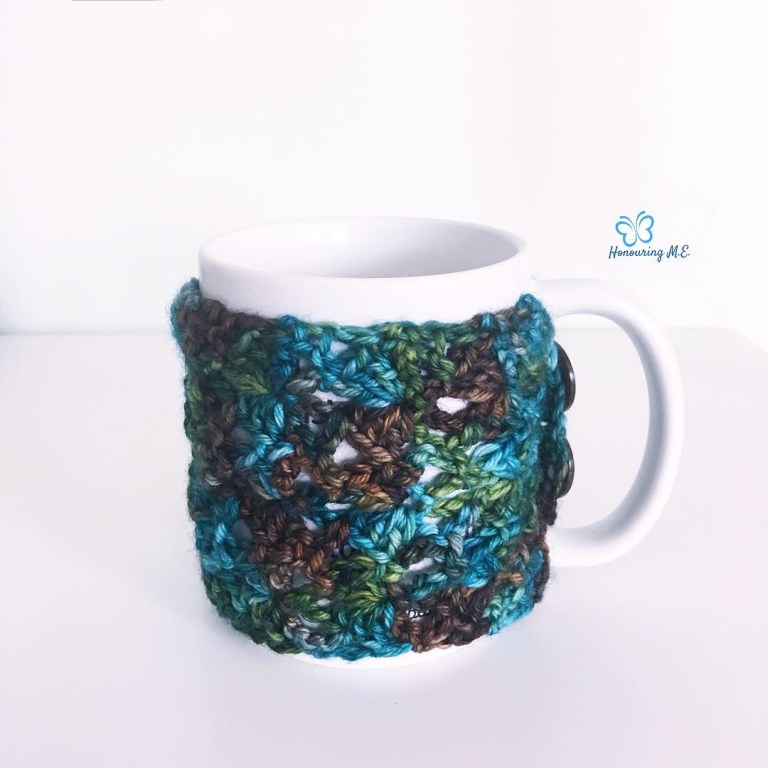
I while ago I made a little cup cozy with some left over yarn from my Yarn Crush box. It was quick and fairly simple and totally adjustable for any size cup.
I kept changing my mind on a blog post for this week, so I thought I would share how I made it with you. The pattern idea cam from a book that I have – 100 quick and easy crochet stitches
Materials:
- I had around 50g of dk weight yarn to use and I didn’t use it all.
- 4mm hook
- buttons (I used 2)
- Needle for the buttons
Pattern Notes:
- The pattern is worked in multiples of 8 plus 2 for the base chain.
- The initial chain is to fit the height that you want it.
- the total number of rows that you do will be the length you need it to be.
Stitches:
US terms:
- dc (double crochet) (treble in UK terms)
- shell (see special stitches)
- sc (single crochet) (double crochet in UK terms)
- ch (chain)
- dec dc (decrease double crochet) (decrease treble in UK terms)
Special Stitches:
Shell Stitch: 3dc, ch5, 3dc together where indicated.
Decrease double crochet: yarn over, insert hook into first stitch, yarn over and pull through first two loops, yarn over, insert hook into second stitch, yarn over, pull through first two stitches on hook, yarn over, pull through all three stitches remaining on hook.
Pattern:
Row1: sc in the second ch from the hook | skip next 3 chains, shell in the next ch, skip next 3 chains, 1sc in the next stitch | repeat steps in italics until the end. Turn
Row2: ch3, skip next 2 stitches, dc in next stitch (counts as dec dc) | ch3, 1sc in ch5 space of shell, ch3, dec dc (in 1st dc after the ch5 where the sc was worked & the last dc of before the next ch5 space) | repeat steps in italics, working the second half of the last dec dc into the last stitch.
Row3: ch 1, sc in 1st stitch, | shell in next sc, sc in top if next dec dc | repeat across, turn.
Repeat rows 2 and 3 until it is at the desired length – approx 10 repeats. I finished on a Row3 and used the ch5 spaces as button holes.
Sew buttons on the end that you started at. I opted to sew them near the middle so that they buttoned in the handle. If you’re making it for a takeaway cup or travel mug, you might like to use three buttons or space them further apart.
The row 2 is a bit hard to explain without pictures, but when you’re doing the dec dc you’re working into first dc of the last half of one shell and the 3rd dc of the first half of the second shell.
Have fun making one! If you need extra help, then you should join my facebook group for help and ideas!
Seona x
