How to make a Grannie Square Hat

I recently ticked a crochet make off my bucket list and thought I would share with you exactly how I made it.

I’m a fan of crochet squares and how versatile they can be and had a grannie square hat on my wish list. I made one from a vision in my head and it was a relatively quick and easy make to do!

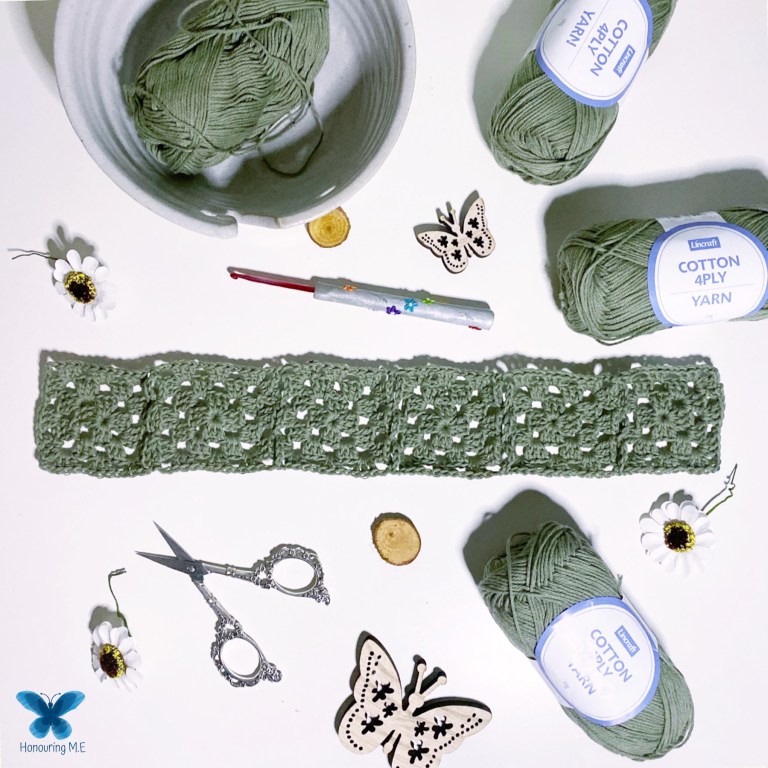
The yarn I used was a Lincraft 4ply cotton with a 3mm hook. You can use any cotton or acrylic yarn from your stash. I wanted a light and floppy summer hat which is why I chose the yarn that I did.

Step 1 was to make a band of grannie squares.

I made each square with 3 rounds and joined as I went until I had enough squares to reach around my head. For me that was 8 squares. How manu you end up with will depend on the yarn and the size of your head or the intended recipients head.

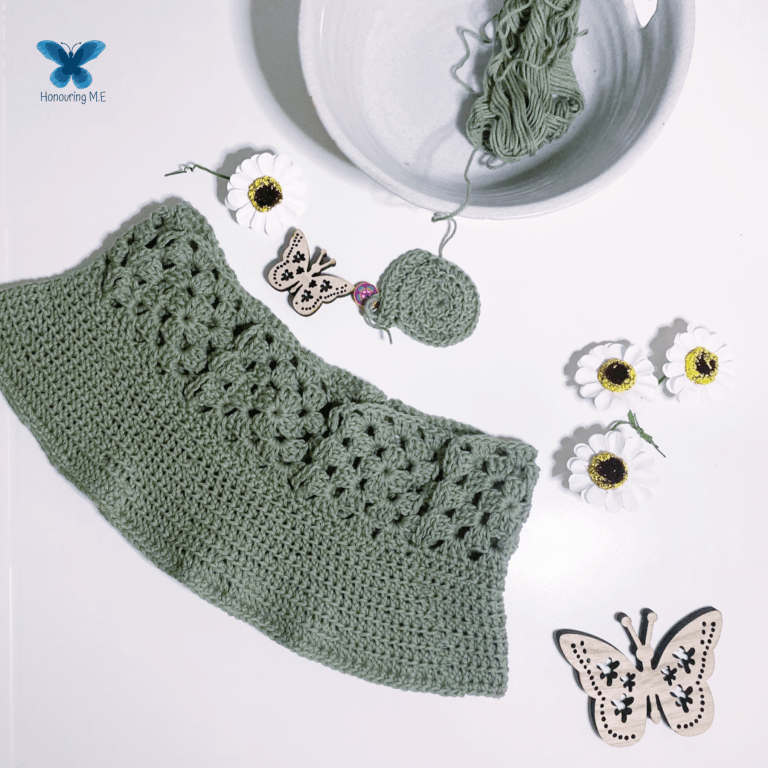
Step 2 was to make the brim.

I started the brim by working single crochet (double crochet in UK terms) into each stitch and chain space of the one edge of the squares. When I got to where the squares met at the corners I worked into the chain space but not into the stitches of the corner. I ended up with just over 100 stitches. Each round I finished with a slip stitch and began with a chain 1.

From round 2 onwards I worked with half double crochet (half treble) in the back loop only and I increased the round by 10 stitches. So round 2 was an increase in every 10th stitch, round 3 in every 11th and so on. I kept increasing until the brim was the size I wanted and then finished with a round of single crochet with no increases.

Step 3 was to make and attach the top

  • The top of the hat I started with a magic ring and 10 half double crochet (half treble). I then did the same as the brim and worked into the back loop only increasing each round by 10 stitches. I kept increasing until I had close to the same number of stitches as the first round of the brim (for me that was close to 100).
  • Once I had the top complete I then put right sides together and joined with single crochet (double crochet) into each stitch and chain space. Once the round was complete it was done!
  • How many stitches you choose to increase the rounds by on the brim and the top will be determined by the number of stitches in the first round of the brim. You will want to make sure that the increases are easily divisible into the total number. For example, if you had fewer stitches – such as close to 90, I would increase each round by 9.
  • If designing your own makes is something that you aspire to do, then be sure to check out my Hooked on Crochet Club. The clubhouse has been created to help you move from being a Dabbler to being Hooked and then a Designer. The doors next in January (but you never know, there just might be a sneaky doors open to the waitlist before then!)
  • Seona x
  • One thought on “How to make a Grannie Square Hat

    Leave a Reply

    Fill in your details below or click an icon to log in:

    WordPress.com Logo

    You are commenting using your WordPress.com account. Log Out /  Change )

    Twitter picture

    You are commenting using your Twitter account. Log Out /  Change )

    Facebook photo

    You are commenting using your Facebook account. Log Out /  Change )

    Connecting to %s