The first Square a Day Challenge of the year was last month so I thought it timely to share some ways to join squares together. These are all individual posts I have made before, but thought I would link them all here to make it easier for you to find what you need.
So here goes.
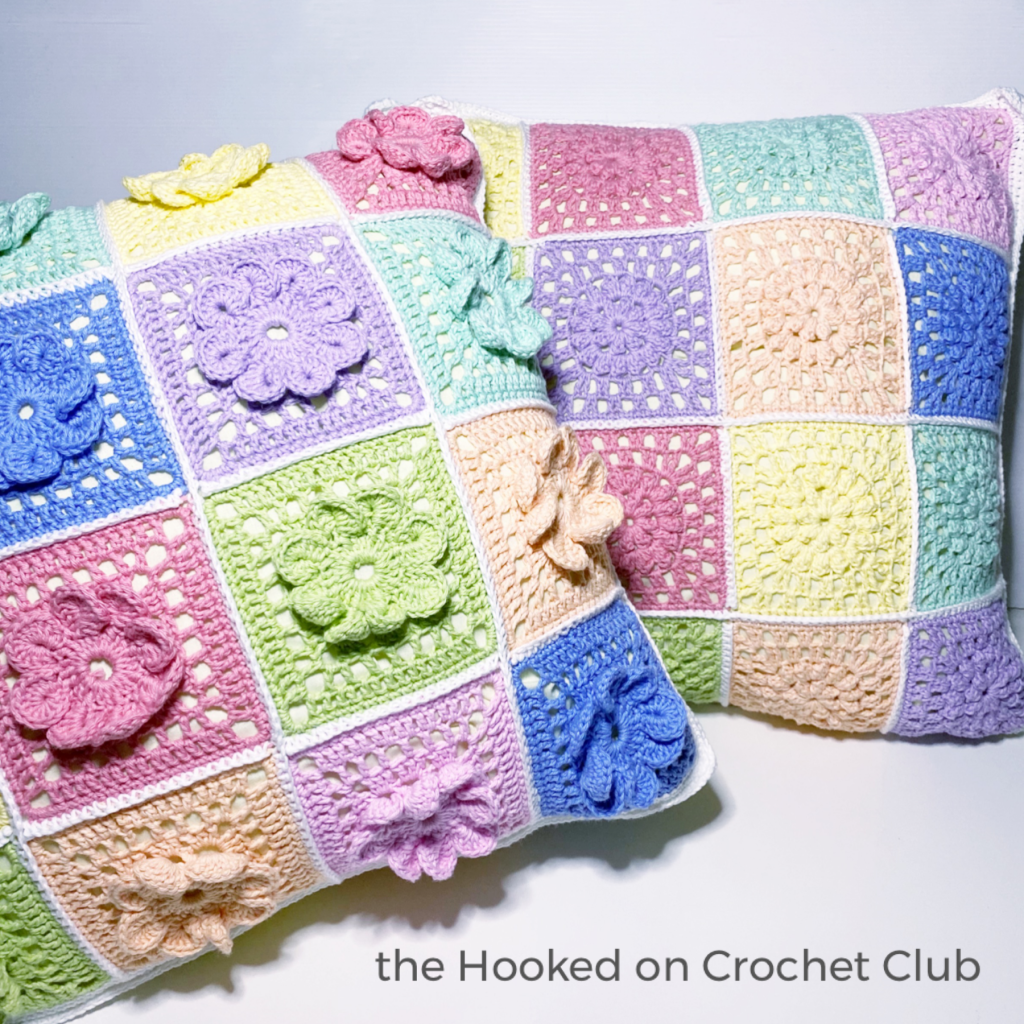
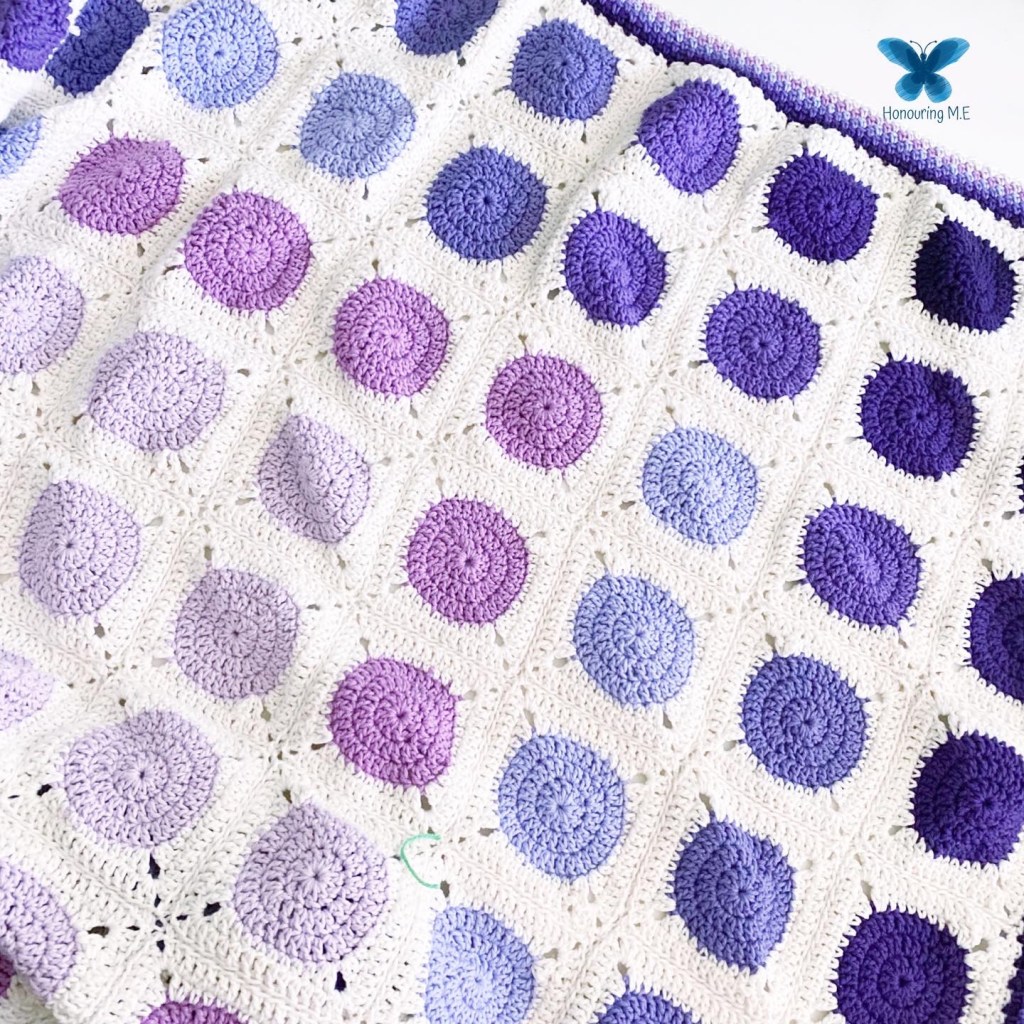
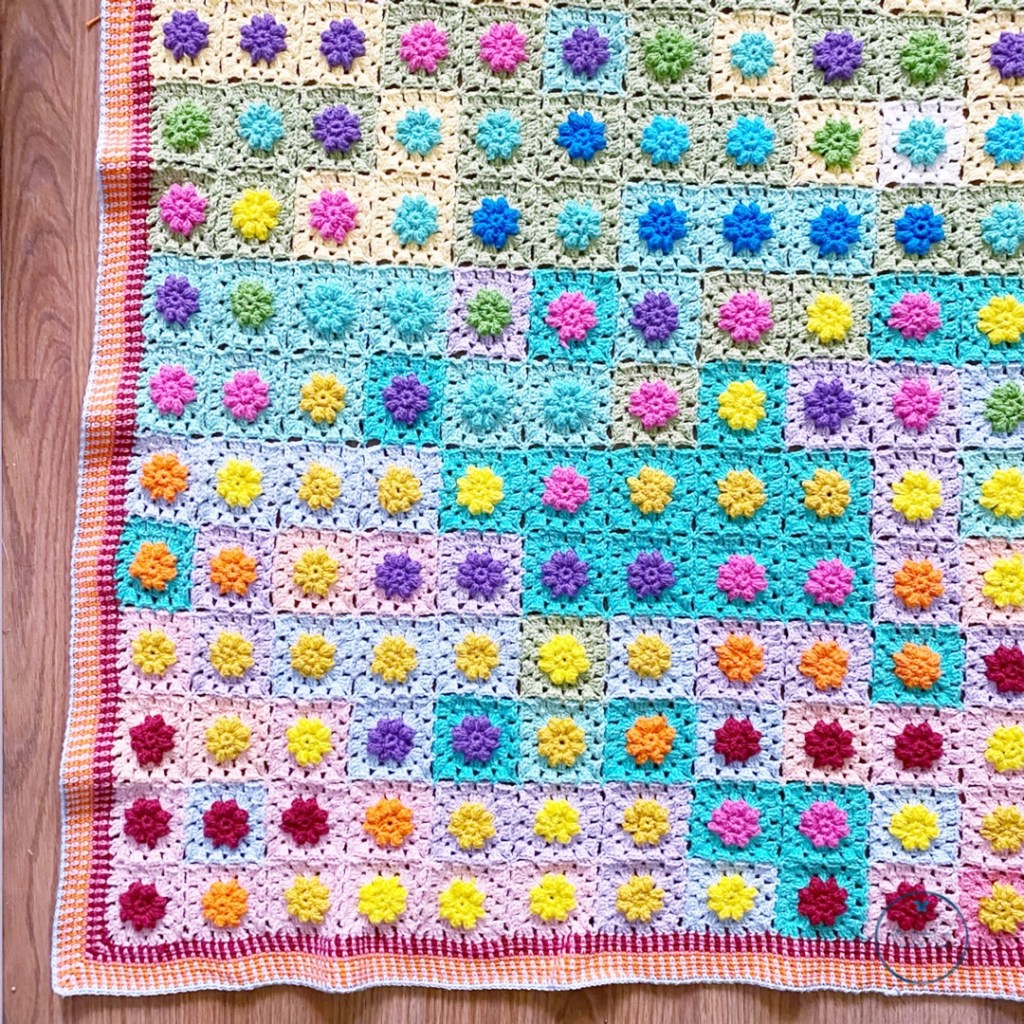
The first is probably one of the simplest to do – and that is joining with single crochet. This one is done with wrong sides together. I have changed my method for this a couple of times over the years depending on my project and my skill level at remembering the placement of the squares. It does require you to know your layout before you start. I find it easiest to lay the squares out, take a photo of the layout and then print the photo. I then try to make stacks of the squares in the order I am going to join them and then use the photo to mark them off as I go. The finished result ends up with visible grid lines across the top of your work as shown in hte examples below. Head to this link for the full tutorial for the join.


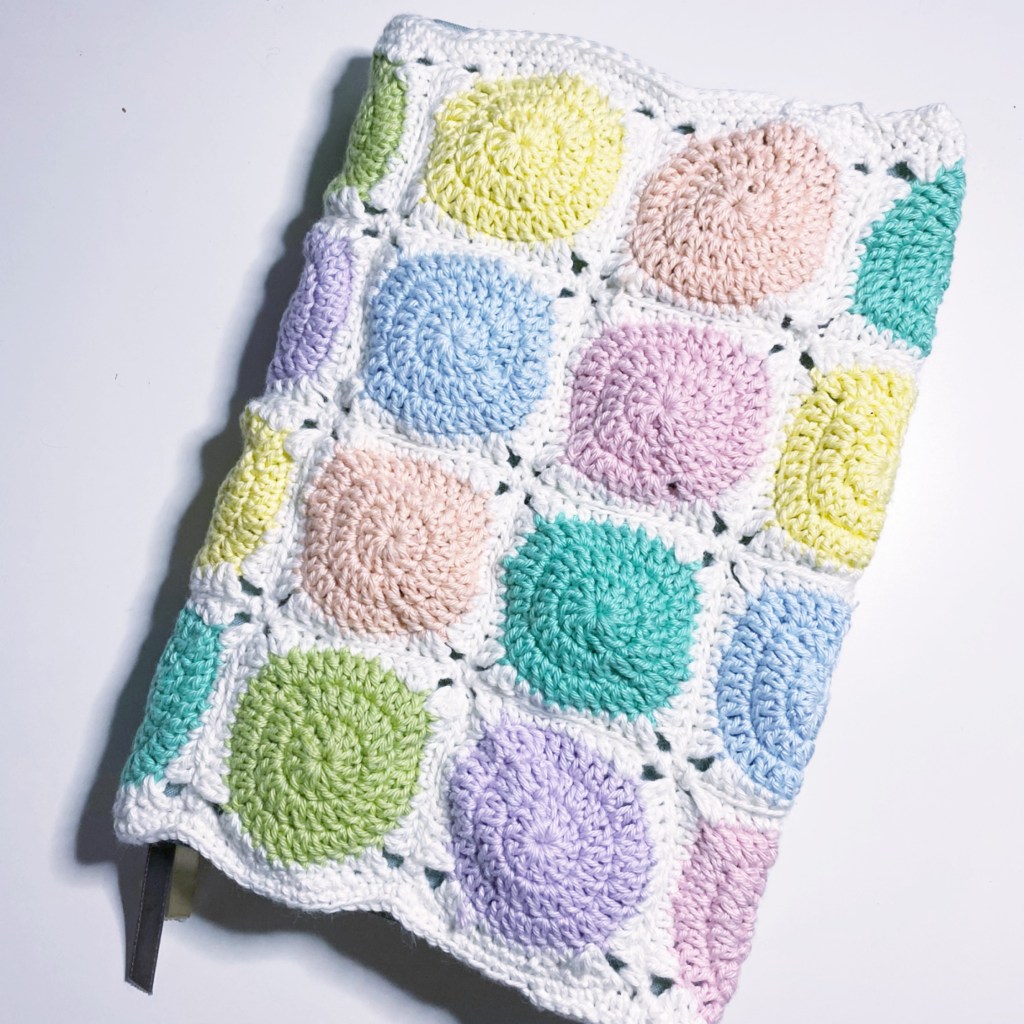
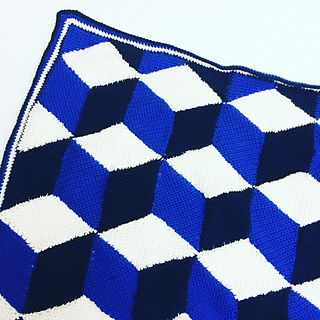
Another join that is quite simple is the invisible join. This one is done by sewing the squares together. It depends on the project, but I will either leave a long tail from the square made and use that to sew the squares together, or I will use a new length of yarn to d it. This works well when you don’t want an obvious join or you want to use up different leftover lengths in your stash. It feels too much like sewing and “work” to me though so i don’t use it often. This one is done with the right sides together and working through the back loop only of the squares and gives the results shown below. You can find the full tutorial at this link here.

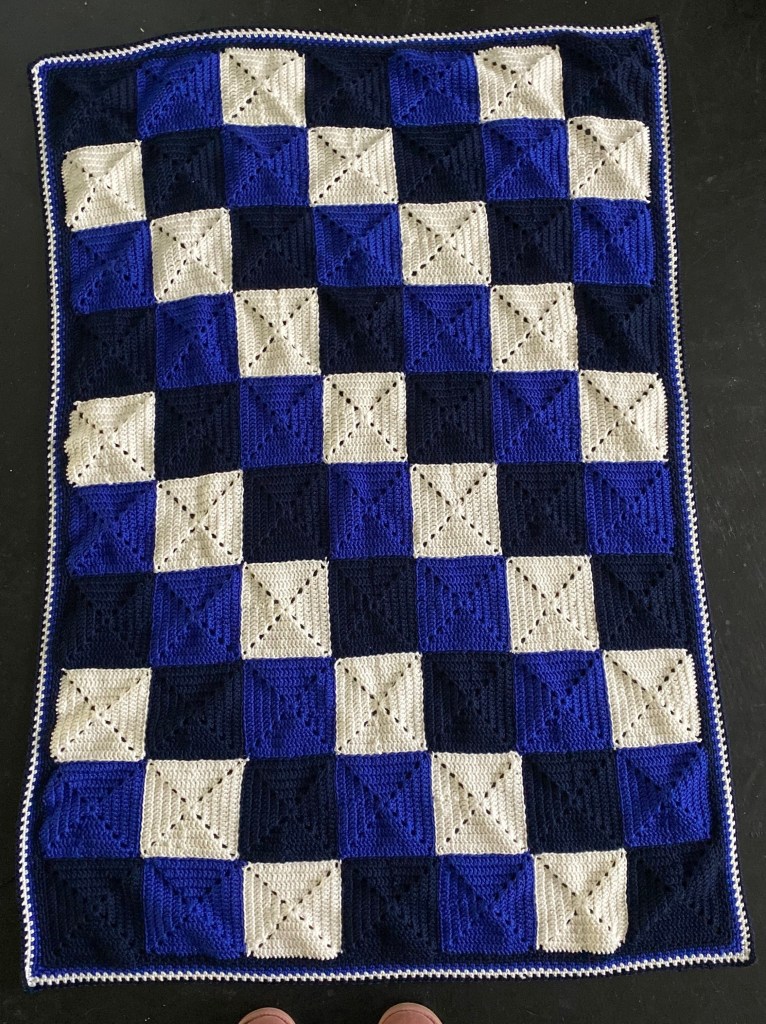
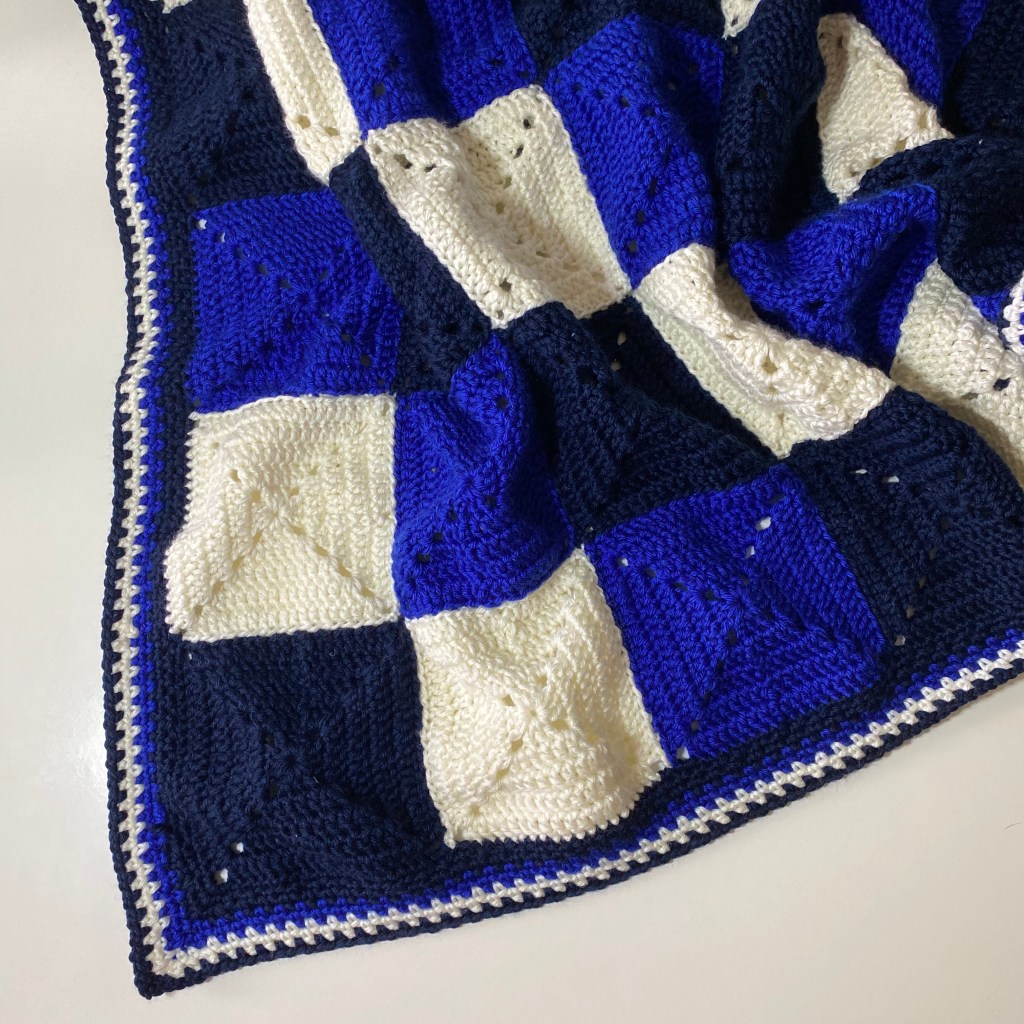


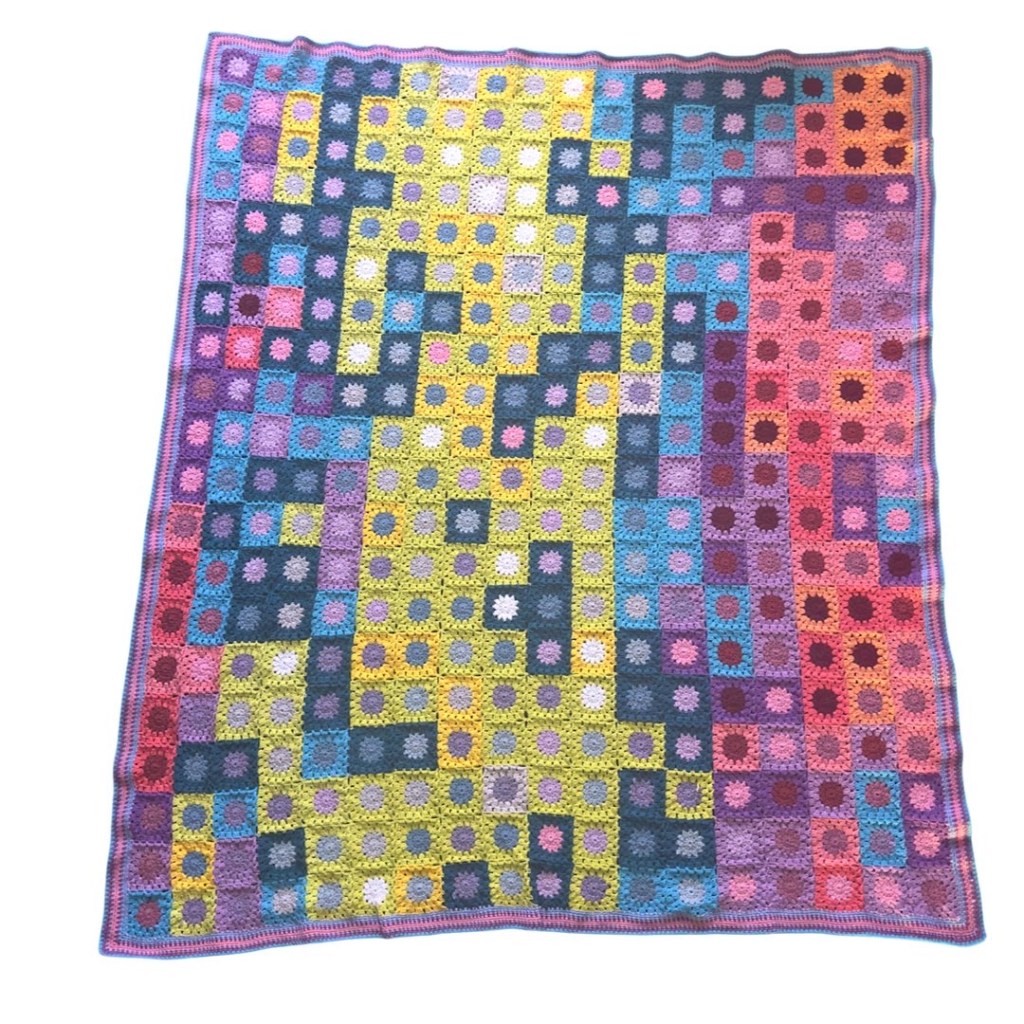
The final join I will share is the join as you go. I use this one for my temperature blankets. It can be a little bit trickier than the previous two, but it is simple once you get the hang of it! Just keep in your head that you’re just slip stitching one square to the other in a chain space and the rest kind of takes care of the rest. This join is made on hte last round of the square. You can either use teh same stitch as the square or you can add a chain space and single crochet border and join that as you go too. You can find the full tutorial here.


So hopefully that helps you with some ideas! Save this post so that you can find it later when you need to decide on a join. And be sure to subscribe to my blog for a new tutorial every month.
Seona x

One thought on “How to Join Granny Squares Together”